For expert advice  call 01832 770883

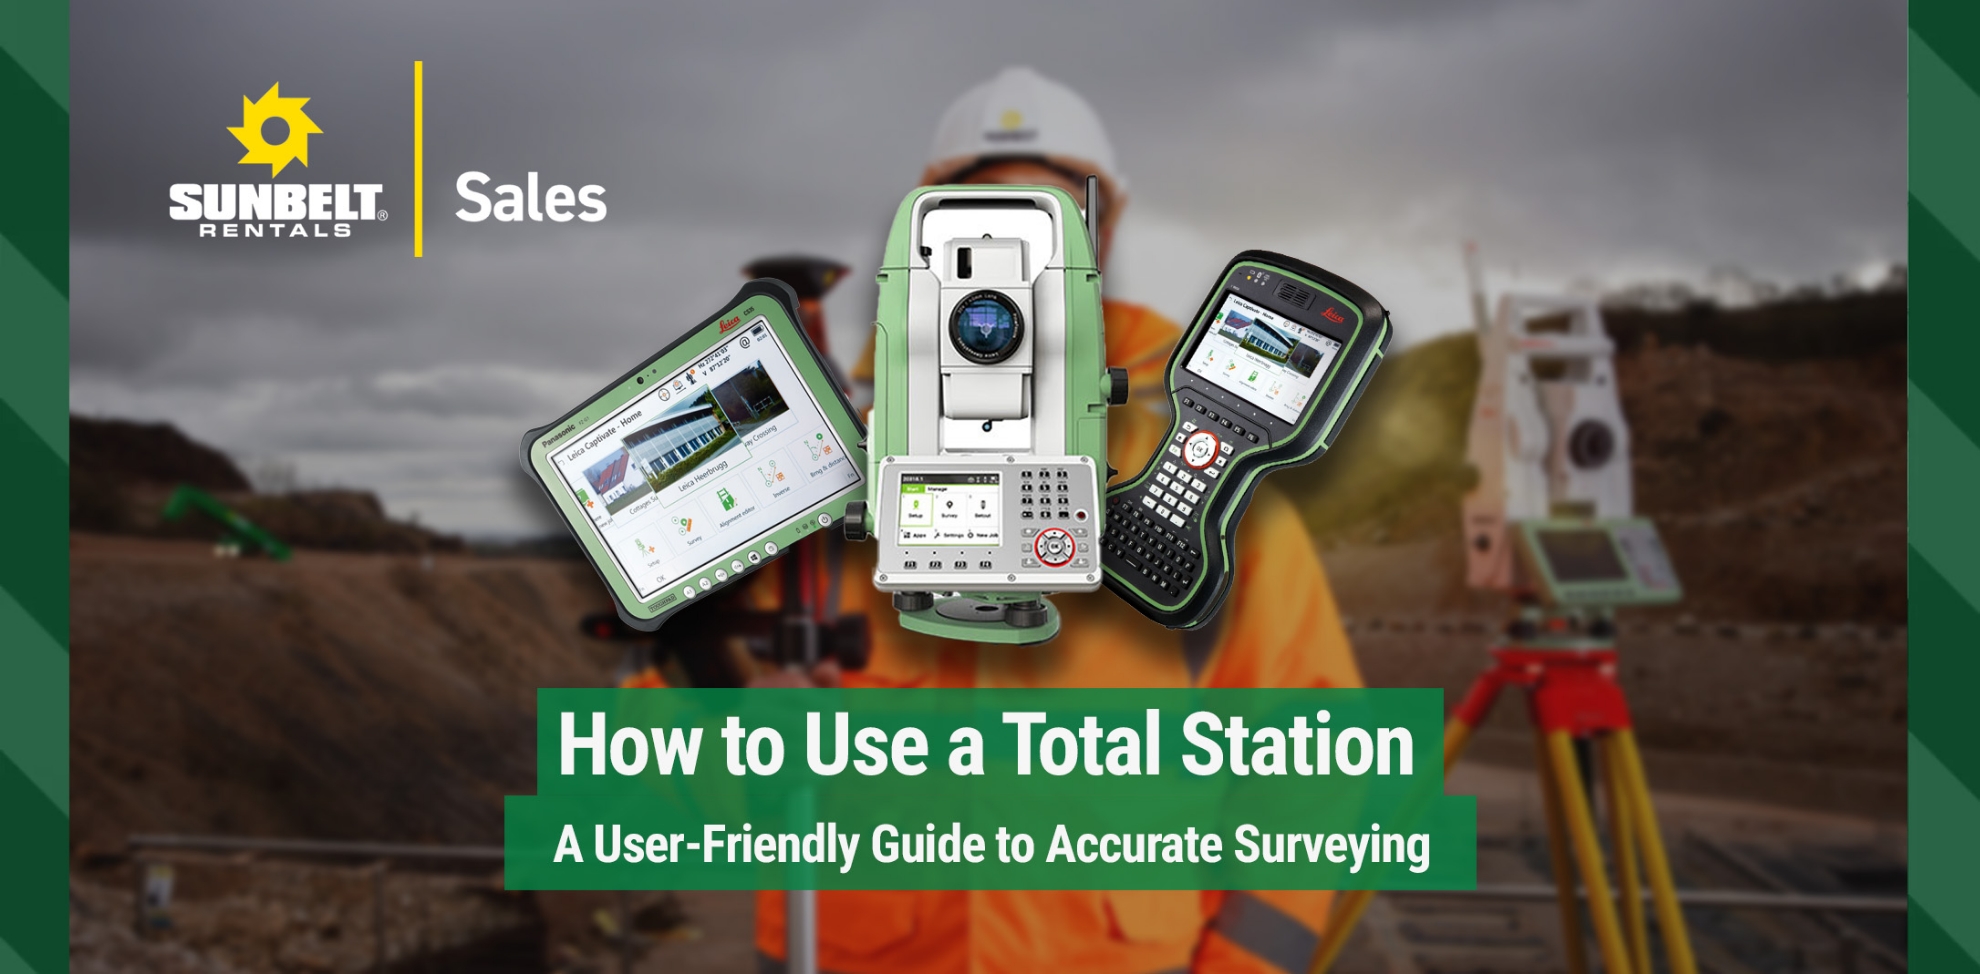
Learn how to set up and use a total station for accurate surveying. This beginner’s guide covers everything from measurements to data recording and exporting, with practical tips and expert-reviewed advice.
At first glance, a total station might seem like an advanced or even intimidating piece of equipment, but it’s actually designed to make measurements faster, more accurate, and more efficient than traditional surveying tools. Used widely across land surveying, civil engineering, and construction, a total station replaces old-school levels, tapes, and theodolites with one compact unit that does it all.
This guide is designed specifically for new users; in it we’ll break down how to set up a total station, take accurate measurements, and record your data correctly, even if you’re new to the industry.
A total station is a digital surveying instrument that combines an electronic theodolite - used to measure horizontal and vertical angles - with an Electronic Distance Measurement (EDM) unit - used to measure distances.
A total station calculates both distances and angles with high precision. When those values are combined with a known location, it can determine the exact position (coordinates) of any point you measure.
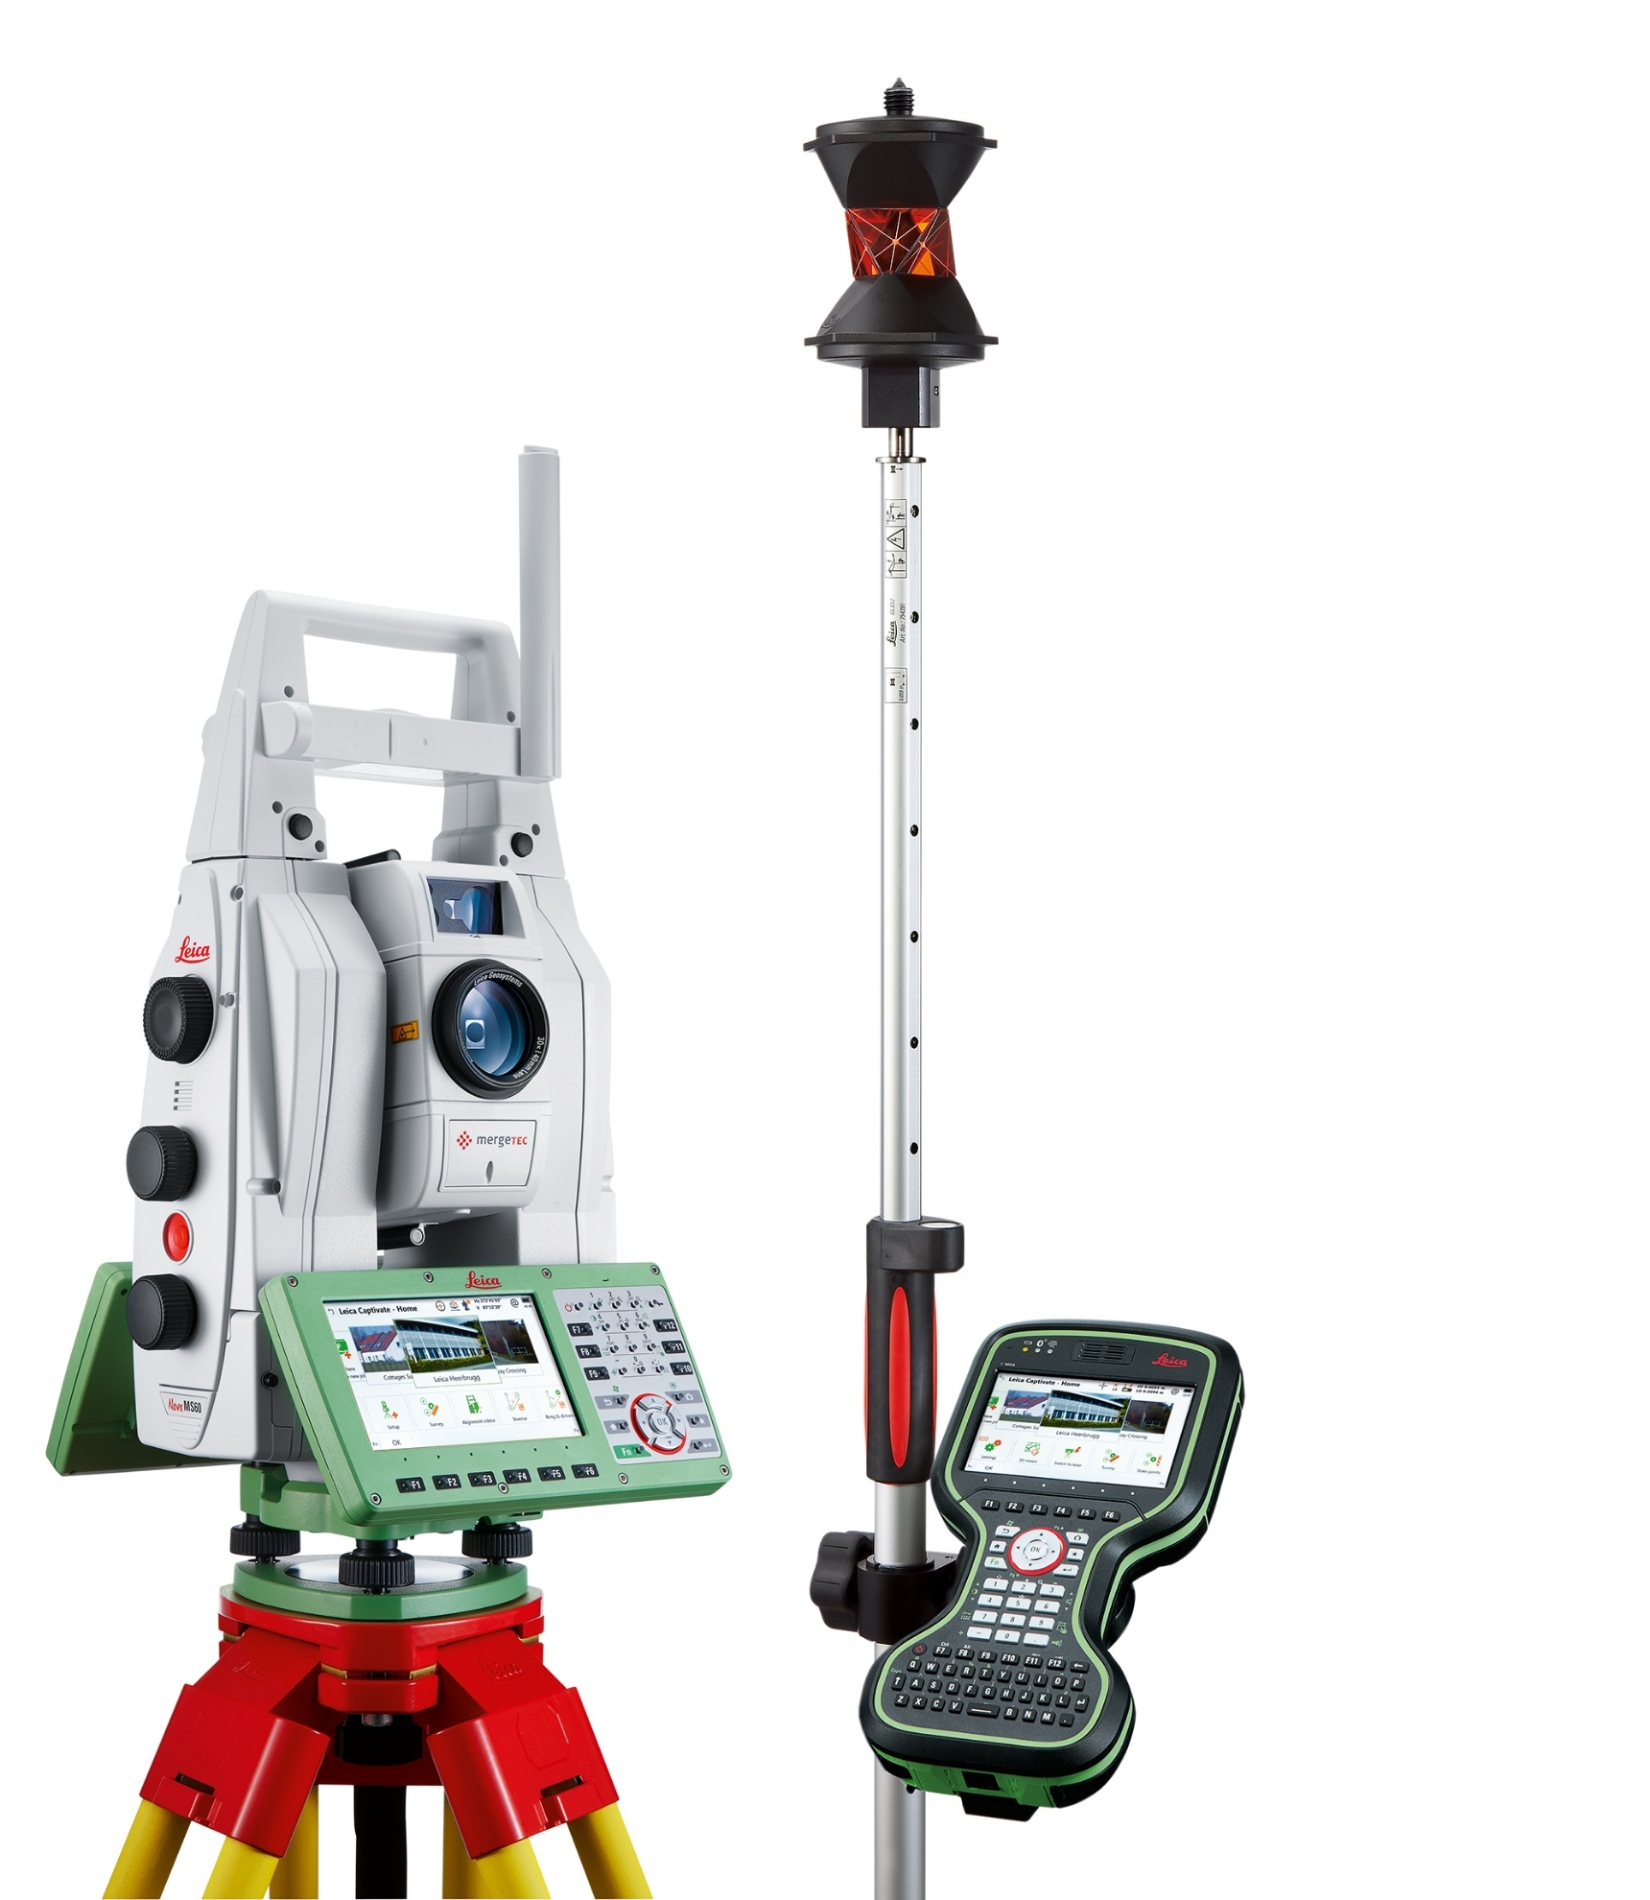
Most models use a prism target to reflect a signal back to the instrument. Some, however, can work in reflectorless mode, allowing you to measure directly off surfaces like walls or utility poles.
Whether using a prism or not, the device captures three key values: horizontal angle, vertical angle, and slope distance. These are then used to compute coordinates that you can use for mapping or layout.
If you’re curious about which total station might be right for you, Sunbelt Sales has a full range of models, including options ideal for beginners.
Before measurements can be taken, the total station must be correctly set up. This step is crucial and often where beginners make avoidable mistakes. Start by placing the tripod securely over your survey point and adjusting the legs to roughly level the head. Once the total station is mounted, fine-tune its level using the circular bubble and foot screws, checking electronically via the device’s screen.
From there, you’ll need to configure the station. This includes entering your position, height of instrument, and orientation to a known point (commonly referred to as a backsight). The backsight allows the total station to understand its orientation in space and enables it to translate angle and distance readings into real-world coordinates. Some models guide you through this process step by step, making it intuitive for newer users.
Summarised:
Once it’s set up, you’re ready to begin measuring. Aim the total station’s telescope at your target (usually a prism mounted on a pole), adjust the focus until the view is sharp, and lock the horizontal and vertical angles in place.
By pressing the measure button, the total station will then calculate the distance to the target, the angle from the station, and, depending on your setup, automatically determine the target’s coordinates.
The device typically provides a readout that includes a horizontal angle, a vertical angle, and the slope distance, the straight-line distance to the target.
It’s important to note that these readings are only as accurate as your setup! A poorly levelled instrument or a misaligned backsight can introduce significant errors, which is why taking time to double-check your setup is a must.
Summarised:
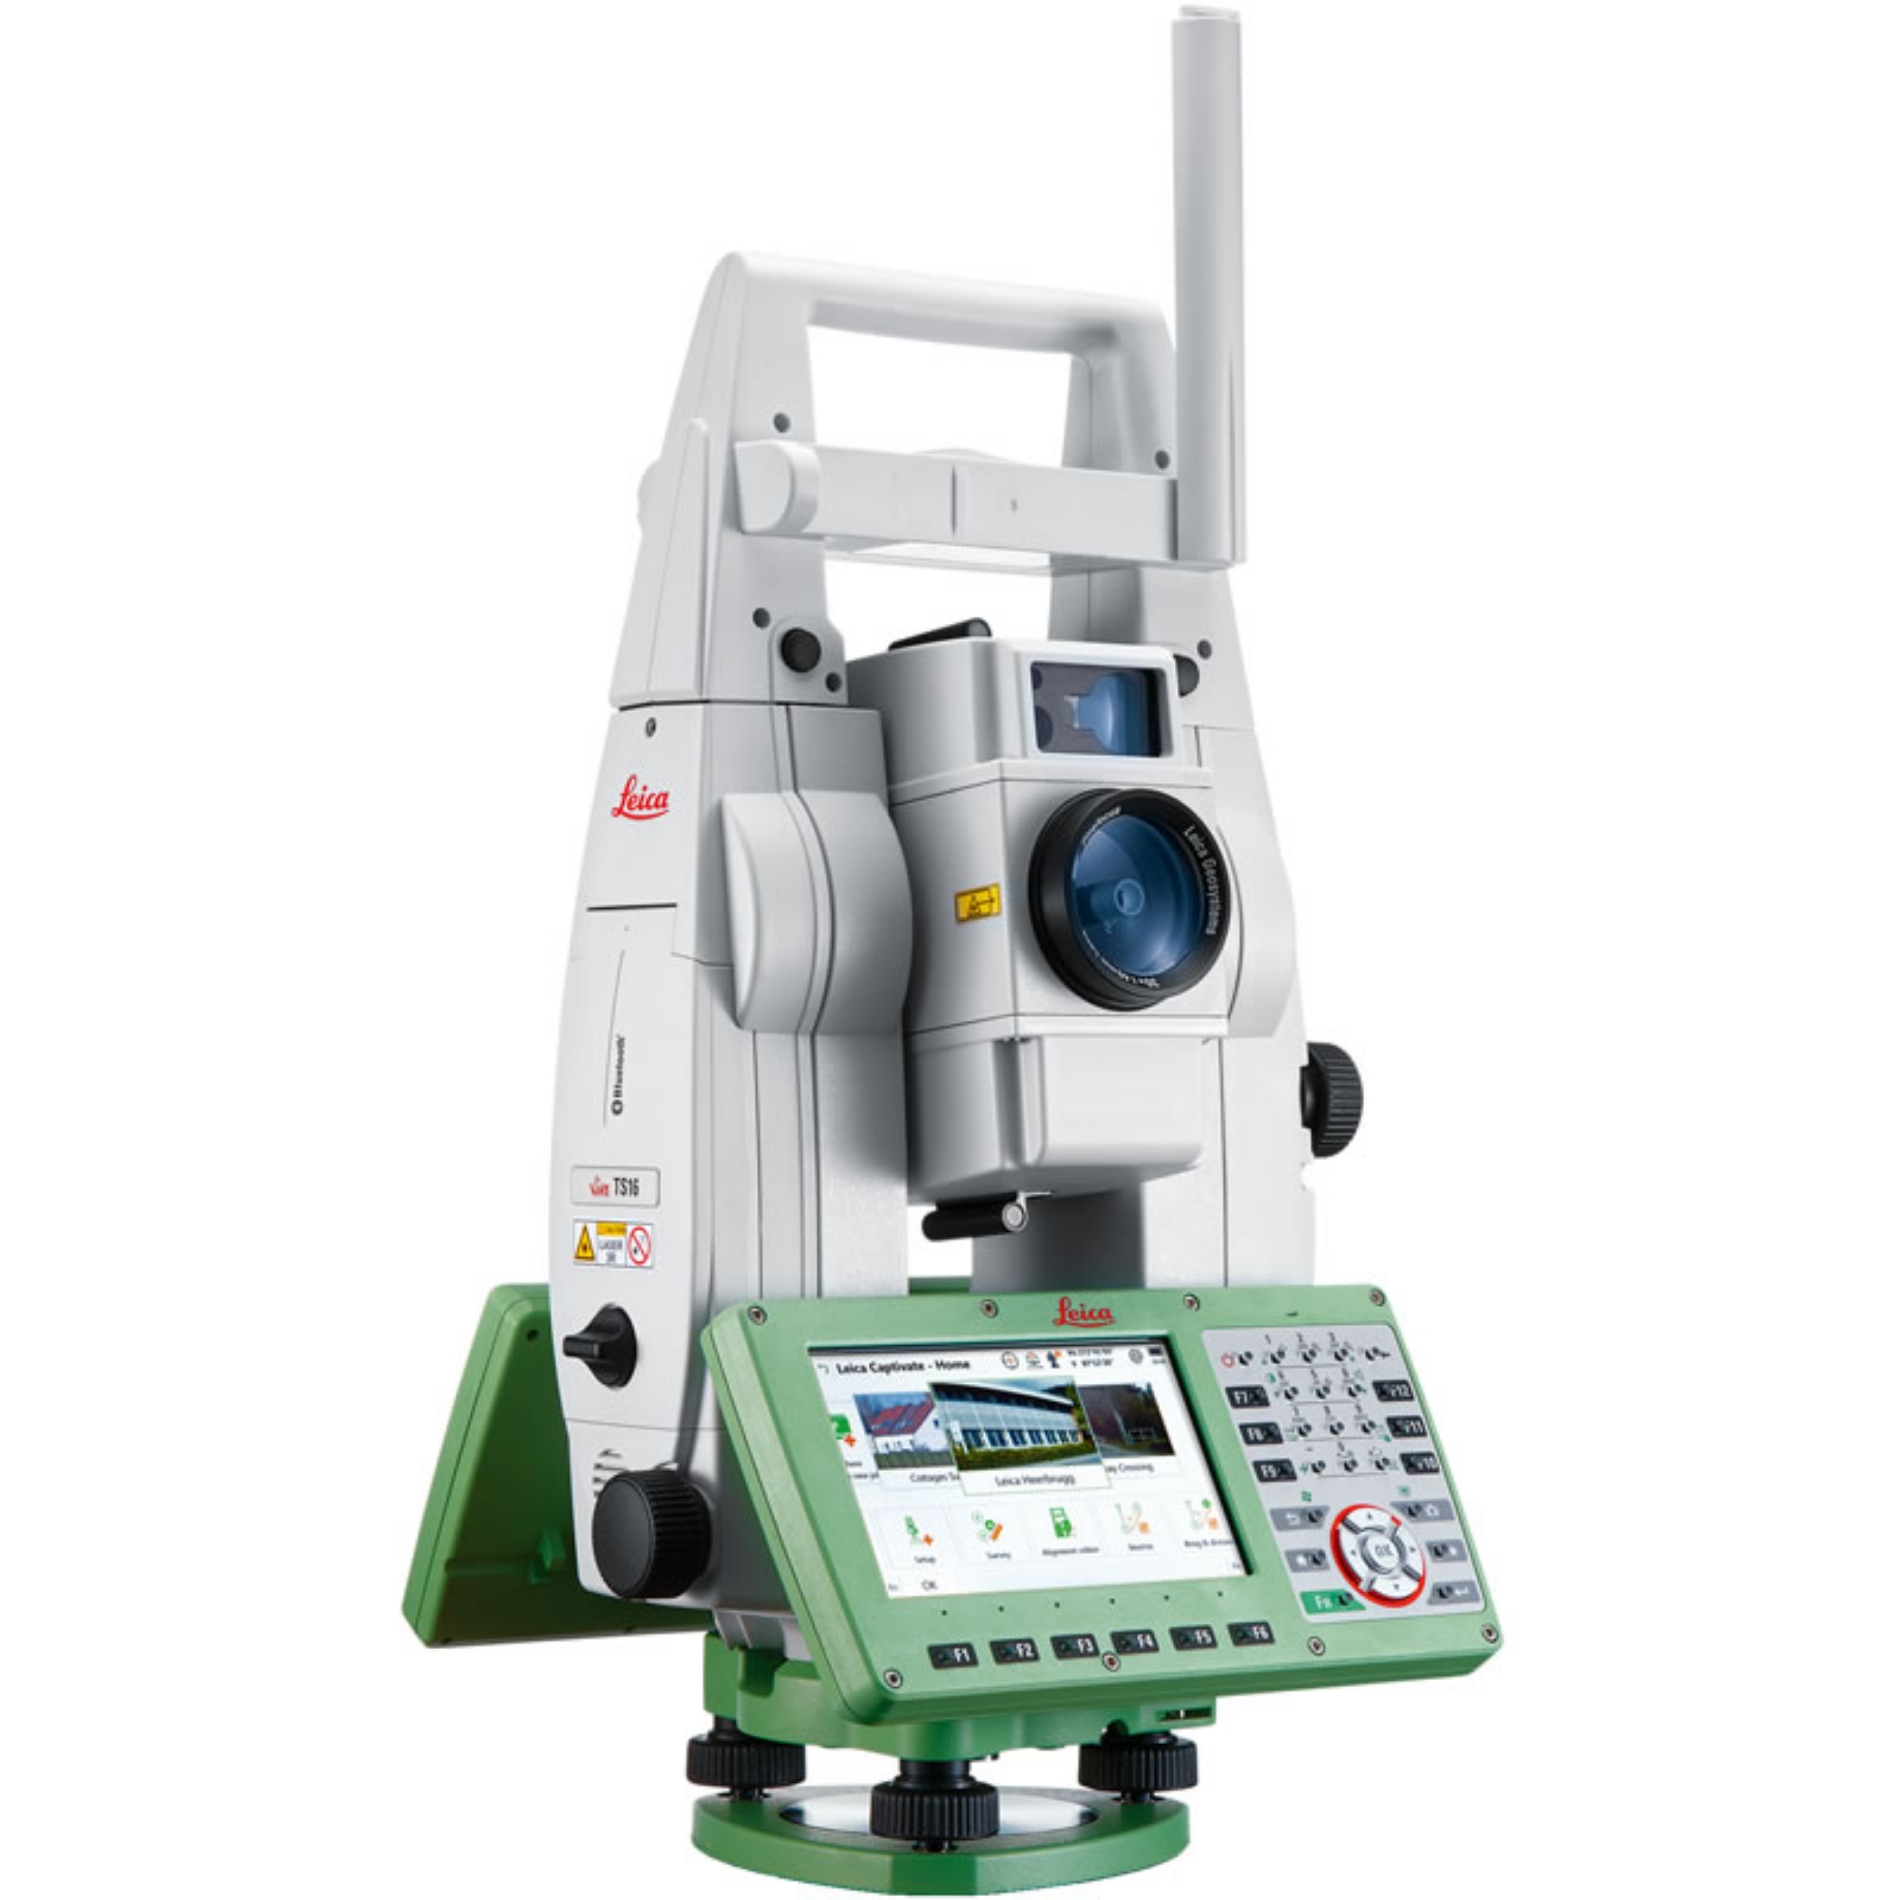
Modern instruments like the Leica TS16 use ATRplus (Automatic Target Recognition), a smart aiming system that automatically finds, locks, and tracks your prism — even in dynamic or harsh conditions like rain, fog, or strong light reflections.
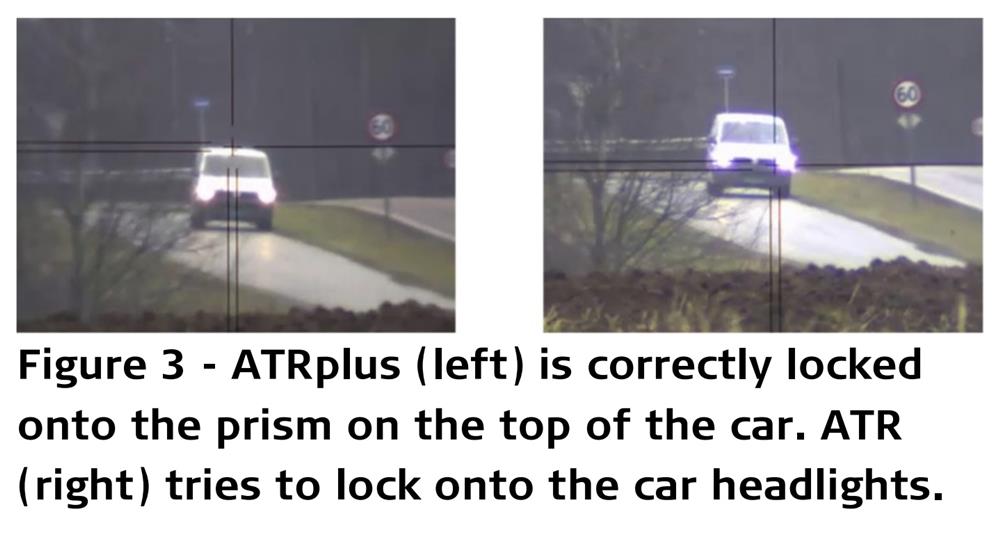

It features:
ATRplus means you don’t need to adjust visibility or weather settings constantly — it just works.
Recording measurements correctly is just as important as taking them. No matter how precise your total station is, the value of the data depends on how it’s recorded, stored, and labelled. Mistakes at this stage can lead to hours of confusion later, whether you’re plotting a topographic map or setting out points on a construction site.
In some scenarios, especially during training or small-scale surveys, it’s useful to record measurements manually. This involves writing down readings into a field book or entering them into a tablet or data sheet in real time. When doing this, you should record:
Manual logging allows you to understand each reading and verify it as you go. It’s also a reliable backup method if the instrument’s data collector fails or batteries die unexpectedly. However, it is prone to human error; writing down a wrong digit, mislabeling a point, or forgetting to log a reading can compromise your dataset.
Most modern total stations come with memory and integrated software, which enables them to store measurements digitally. When using these systems, you can assign names, attributes, and codes to each point directly within the device.
Best practice dictates that these names should follow a consistent and meaningful convention, such as "B001" for a building corner or "CL_05" for a centreline offset, so your data remains organised and is easy to interpret later.
Before you start recording points, it’s important to ensure that all system settings are configured correctly:
Incorrect settings at this stage will result in data that appears correct in the field but causes major discrepancies when loaded into CAD or GIS software later.
Once the fieldwork is complete, your next task is exporting the data. Most newer total stations support file transfers via USB, Bluetooth, or SD card. Ensure that your files are labelled clearly by project name and date for traceability.
Data can be exported in several formats depending on your software requirements:
Before importing your data into mapping or design tools, it’s a good idea to review it in the field or on a laptop. Checking for missing points, duplicate IDs, or abnormal values can save time and prevent having to conduct the entire survey again.
The values collected by a total station can be used to build maps, perform layouts, and create models. When measurements are taken from known positions and recorded accurately, it’s possible to import the data into software like AutoCAD or GIS platforms to produce topographic maps, site plans, or even 3D terrain models.
If you’re laying out new construction, total stations can also guide you in reverse: you upload design coordinates into the device, and it directs you to place physical markers on site using on-screen guidance. This process, known as point stakeout, is widely used in civil engineering and infrastructure work.
Even experienced professionals occasionally make small errors, but some mistakes are especially common among beginners.
One of the biggest mistakes you can make when using a total station to take measurements is failing to level the instrument properly. This might not seem serious, but it can compromise all of its readings. Similarly, if the backsight is incorrectly identified or not accurately measured, your entire orientation can be skewed, making all downstream points inaccurate.
Another issue is neglecting to record or double-check unit settings. If you’re working in metres but your software assumes feet, or if your instrument height is off by 10 cm, that discrepancy can ripple across your data.
Take your time, follow a routine, and don’t hesitate to measure the same point more than once to verify your results.
Consistency and care go a long way when using a total station. Getting into the habit of checking your setup twice, giving each point a clear and descriptive name, and exporting data after every session will save you time and reduce the risk of error.
Battery life can also catch beginners off guard. Always keep your instrument charged and bring spares when possible. And while today’s devices are robust, storing them correctly, cleaning the lenses, and protecting the equipment from extreme weather will extend their life and maintain accuracy.
 | Beginner / Manual Use:Leica FlexLine TS03
|
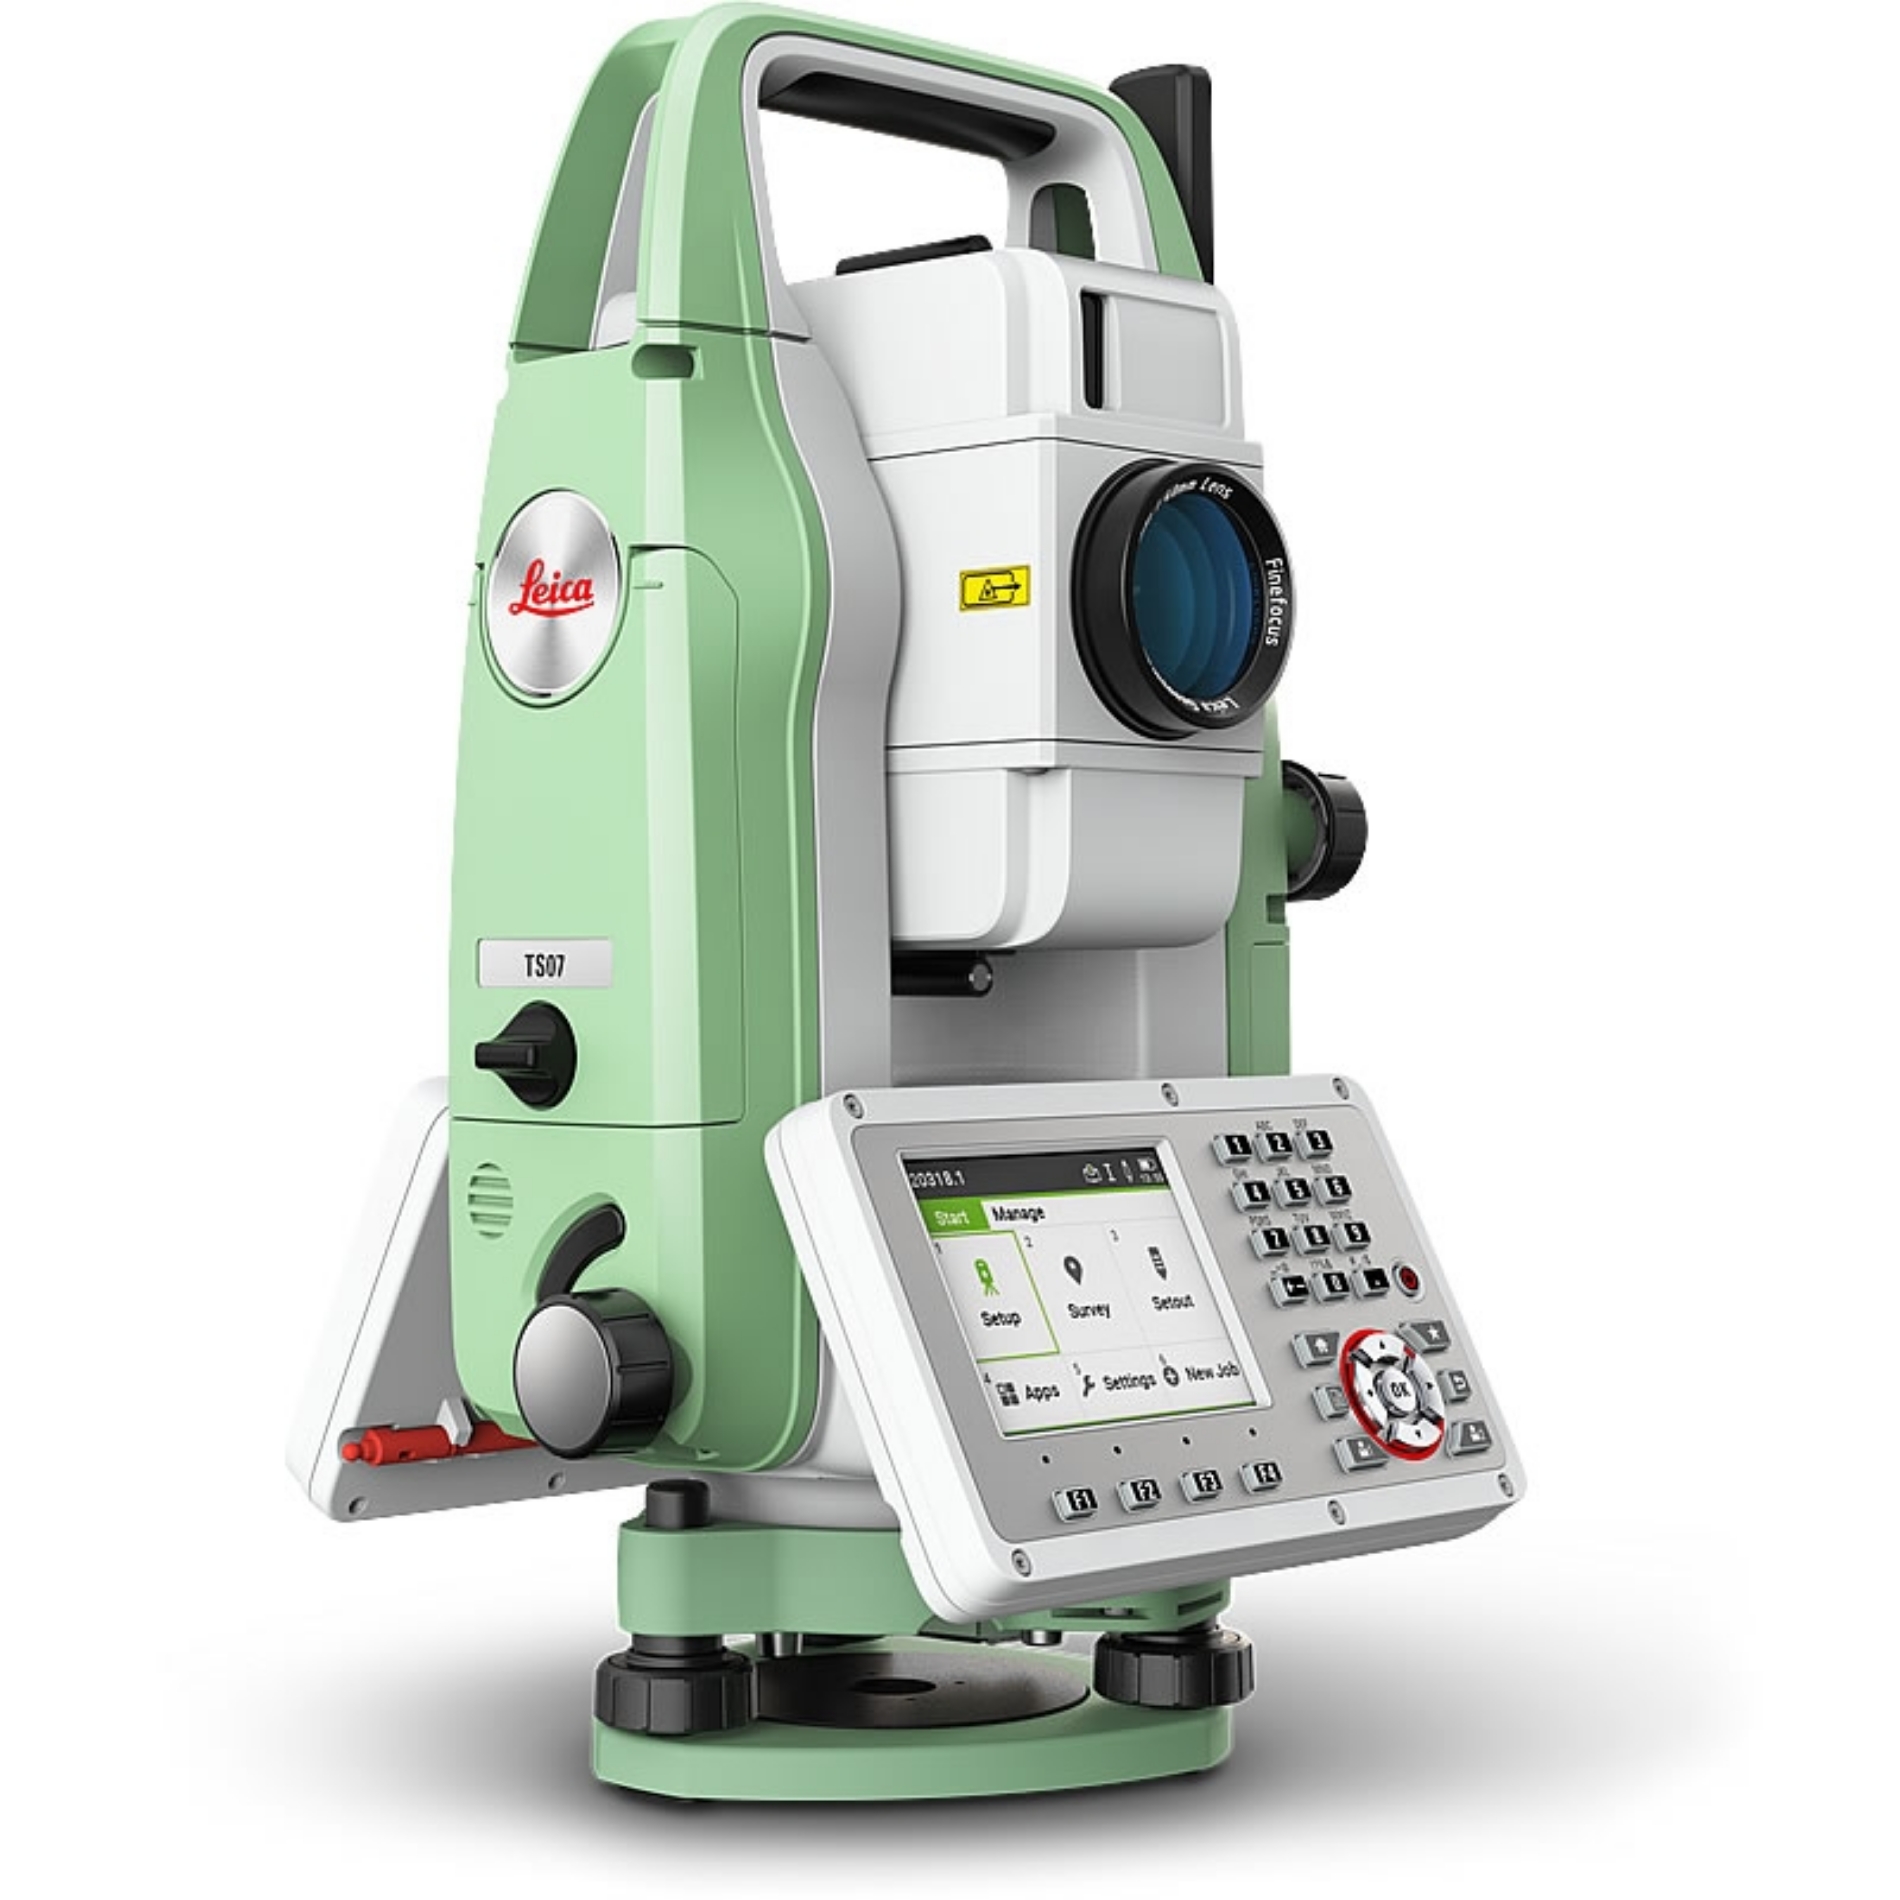 | Intermediate / Reliable Automation:Leica FlexLine TS07 5″ R500
|
 | Professional / Robotic:Leica TS16 P 5″ R500 Robotic Package
|
 | Expert / High Precision:Leica TS16 P 1″ R500 Robotic Package
|
 | Premium All-in-One:Leica MS60 1″ R2000 MultiStation
|
Learning to use a total station might seem overwhelming, but once you understand the basics of setup, measurement, and data recording, it becomes a straightforward process.
These instruments are designed to simplify fieldwork while increasing precision, which is perfect for both large-scale construction and small-scale mapping projects.
If you’re a beginner looking to start surveying or layout work, investing in a quality total station and taking the time to learn how to use it properly is a smart move.
Looking to get started with your own surveying projects?
Explore our full range of total stations or check out our used and reconditioned models for more affordable options. Not sure which is right for you? Contact our expert team; we’re always happy to help you choose the best tool for your needs.
This article was last reviewed and updated on 8th August 2025 by our Surveying Equipment Specialist at Sunbelt Sales. With over 10 years' experience advising civil engineers, surveyors, and site managers across the UK, we ensure all technical content is accurate, up-to-date, and relevant for both beginners and professionals.